


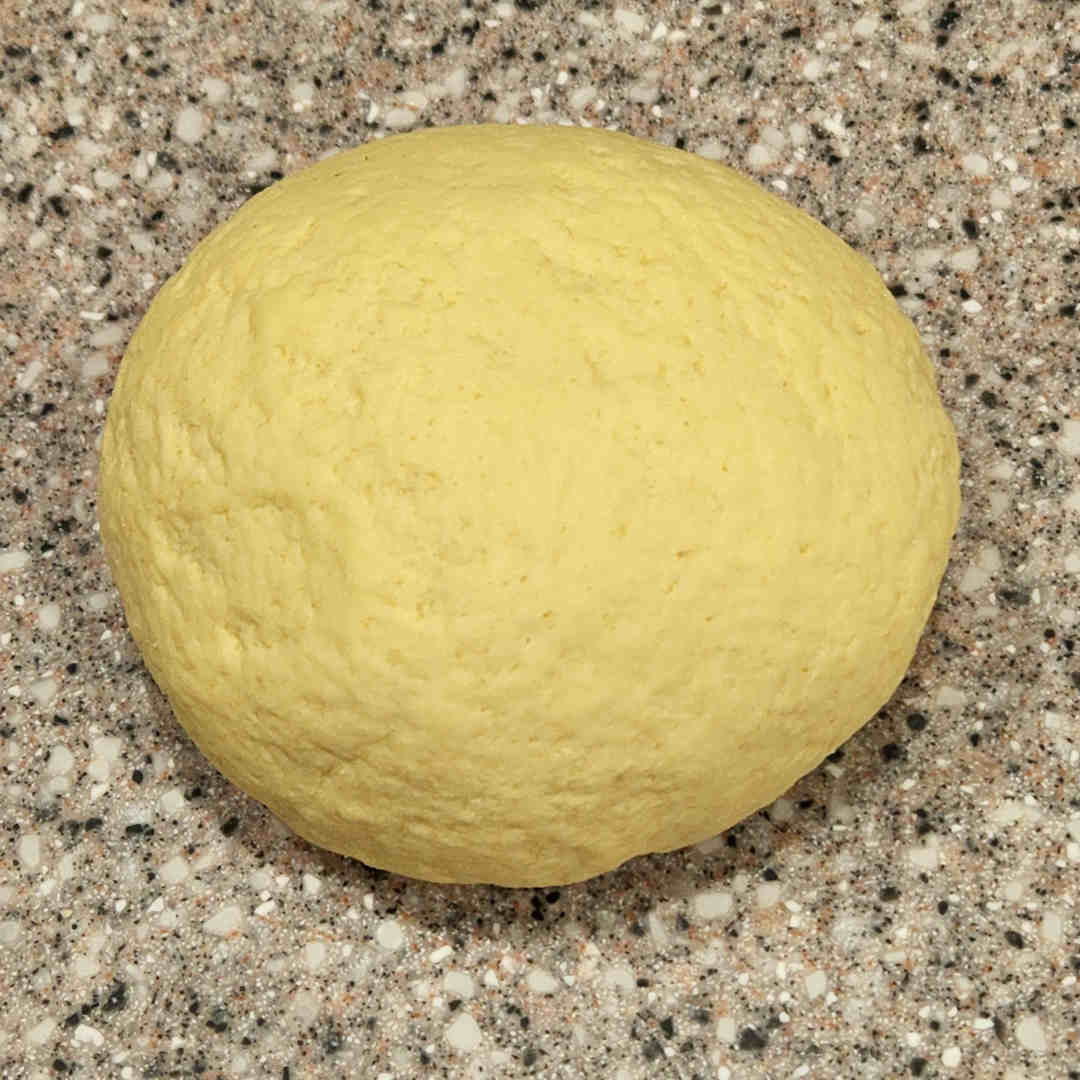
Dough Consistency
If you remember playing with Play Dough as a kid, that’s the texture that you are looking for in this dough. If the dough is sticky, it’s too wet. If the dough is crumbly, it’s too dry. If it’s too wet, slowly add small amounts of flour. Sprinkle about a teaspoon of flour on the work surface, roll the dough around to pick up that flour, and then knead the dough to fully integrate that flour. If the dough is crumbly, wet your hands, shake most of the clinging water back into the sink, and then knead the dough with your moistened hands, working that moisture into the dough. Whichever way you are adjusting, repeat as necessary.
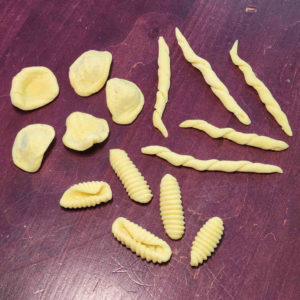
Pasta Shapes
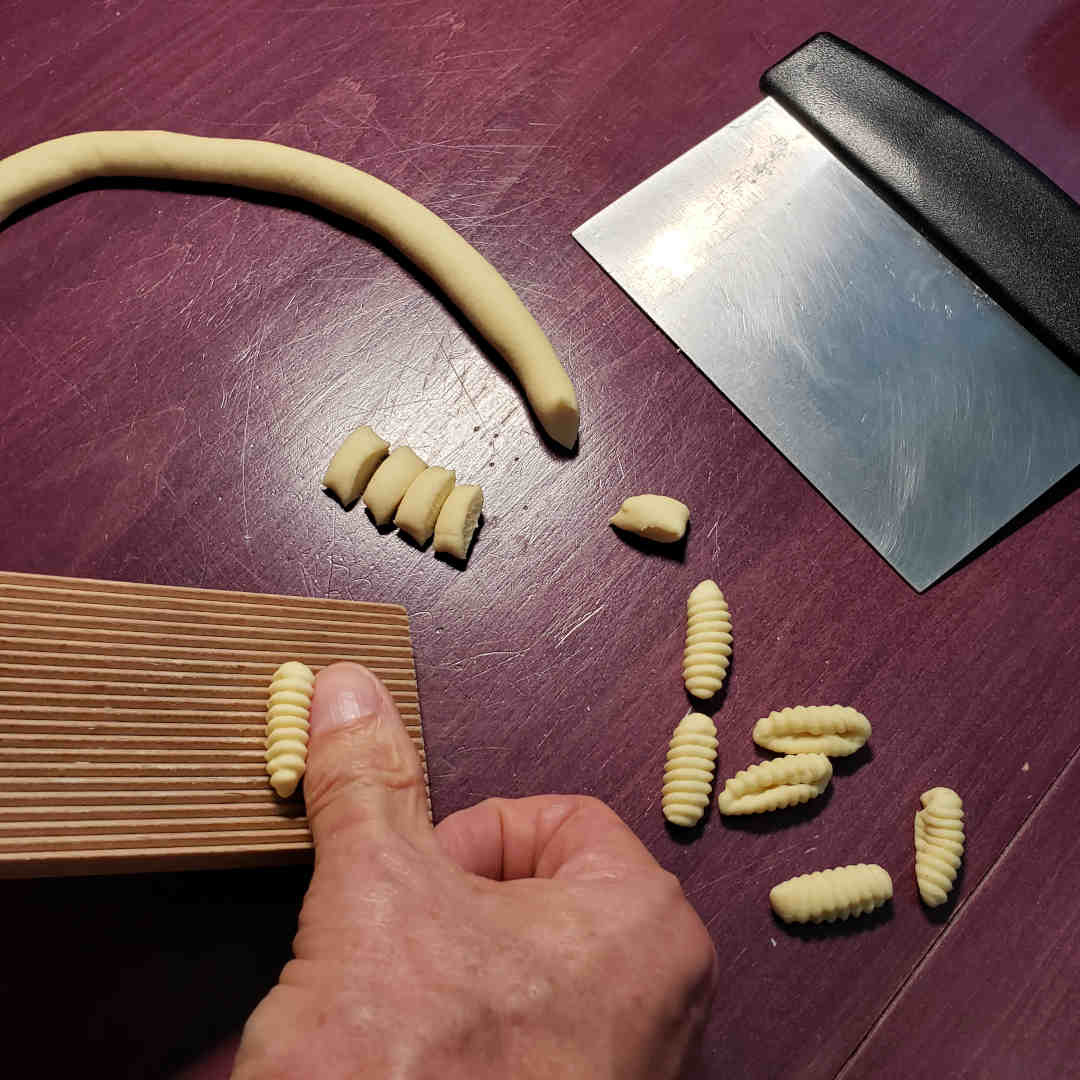
Once the pasta dough has rested, the real fun begins! There are countless shape options. My favorite 3 favorite shapes to make at home are cavatelli/malloreddus , trofie and orecchiette. Why are they my favorites? They are pretty easy, their shapes are interesting and they make nice bites. Trying to demonstrate the shaping of any pasta with still pictures is a challenge. So I’ve curated five videos for each of my three favorite shapes. The videos go into different levels of detail, and demonstrate slightly different techniques and tools, so hopefully you can find what works best for you.
- Trofie:
- Cavatelli/Malloreddus
- Orecchiette
- If you want to explore other fun shapes, Luca D’Onofrio demonstrates a whopping 29 shapes in this video:
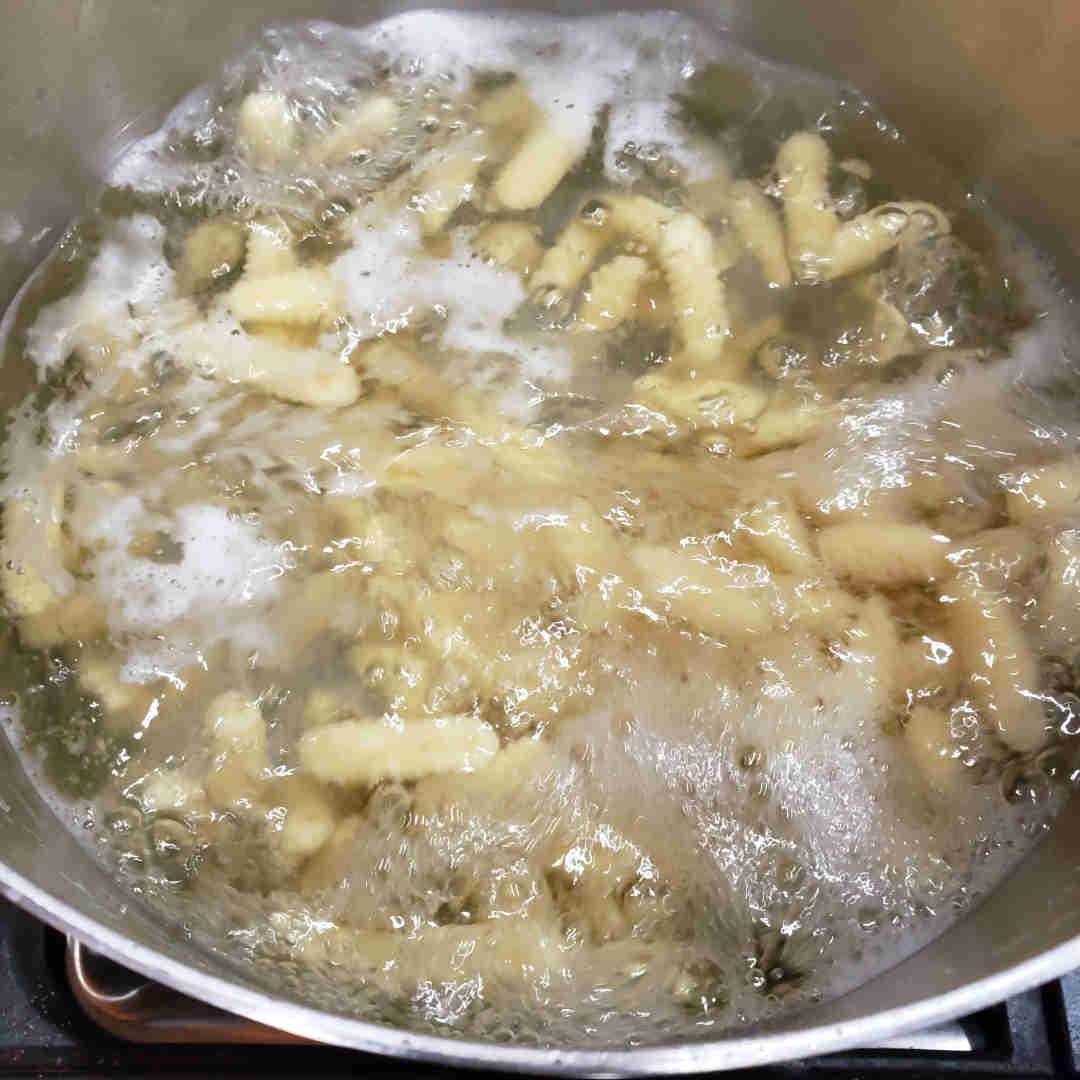
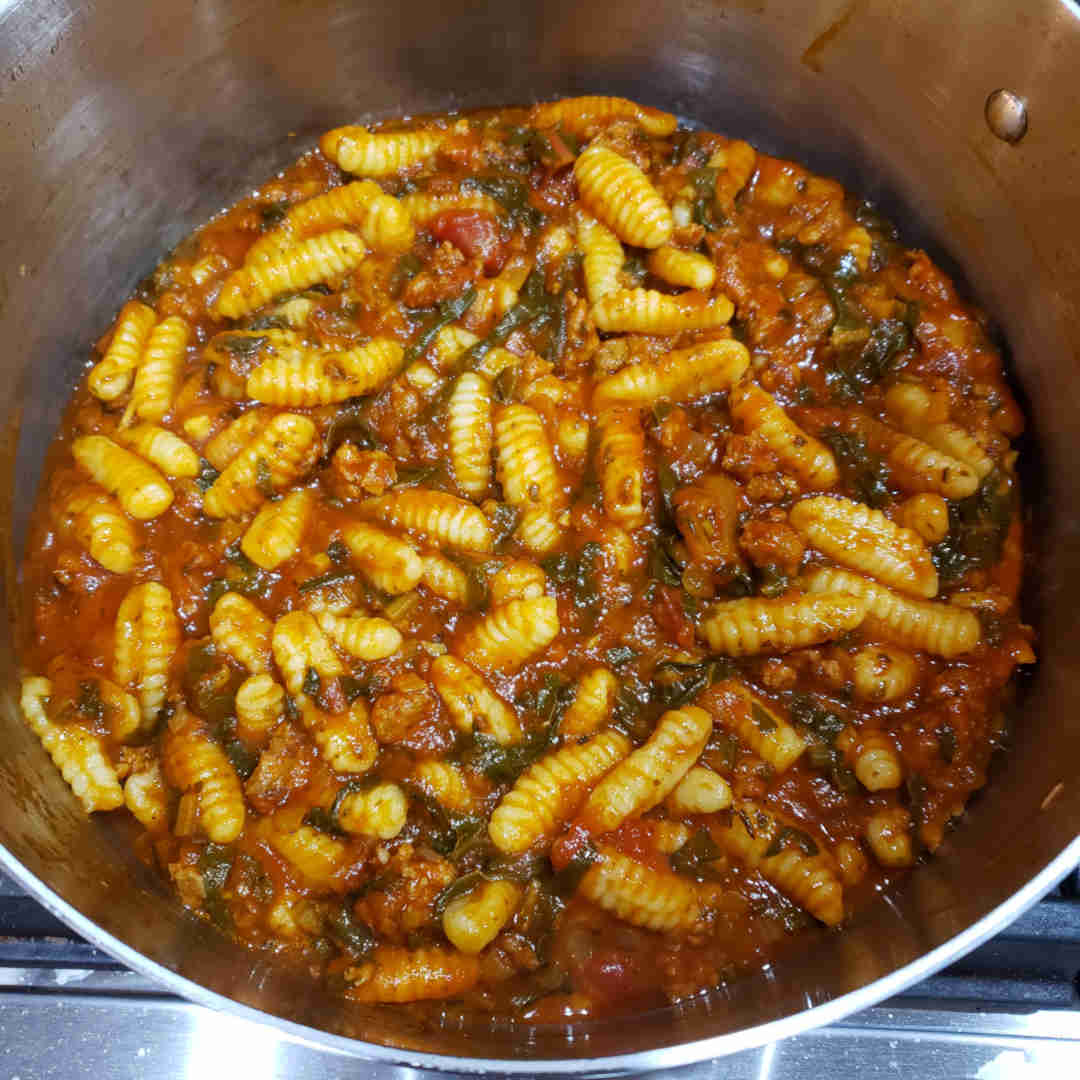
Cooking the Pasta
Have your sauce ready before you start cooking your fresh pasta. Fresh pasta cooks much faster than dry pasta, and you want to sauce and serve the pasta immediately after it is cooked. Starting with water at a rolling boil, I expect about 4 minutes of cook time. Start with 5 or 6 quarts of water with 5 grams of salt per quart (1/2 tablespoon of Diamond Crystal brand kosher salt). Bring the water to a rolling boil on high heat. Add the pasta, keeping the heat on high. You should see the pasta start to float after a couple of minutes. Some say the pasta is cooked at this point. I like to give it another full minute of cook time. The best way to be certain as to doneness is to fish out a piece and take a bite. It should be firm with a nice chew. Both undercooking and overcooking fresh pasta lead to softer, less sturdy noodles.


Fresh Pasta (Semolina Based)
Equipment
- Food Processor (recommended)
Ingredients
- 300 grams semolina flour
- 150 grams hot water 140-150°F
- 3 grams salt
Instructions
Manual Mixing Option
- Make a mound with the flour on a clean working surface, add the salt, stir to loosely mix the salt into the flour.
- Reform the mound, then hollow out the center of the mound to form a wide well and pour the water into the well.
- Using a fork, whisk the water, slowly incorporating flour from the edges while maintaining the walls of the well. If the wall breaks and the volcano erupts, it's not a terrible thing. Just keep working as best you can.
- Eventually there isn't enough flour remaining to provide a containment well, and the water/flour mixture is solid enough that you can switch to using your hands to mix things into a loose clump of dough.
Mechanical Mixing Option
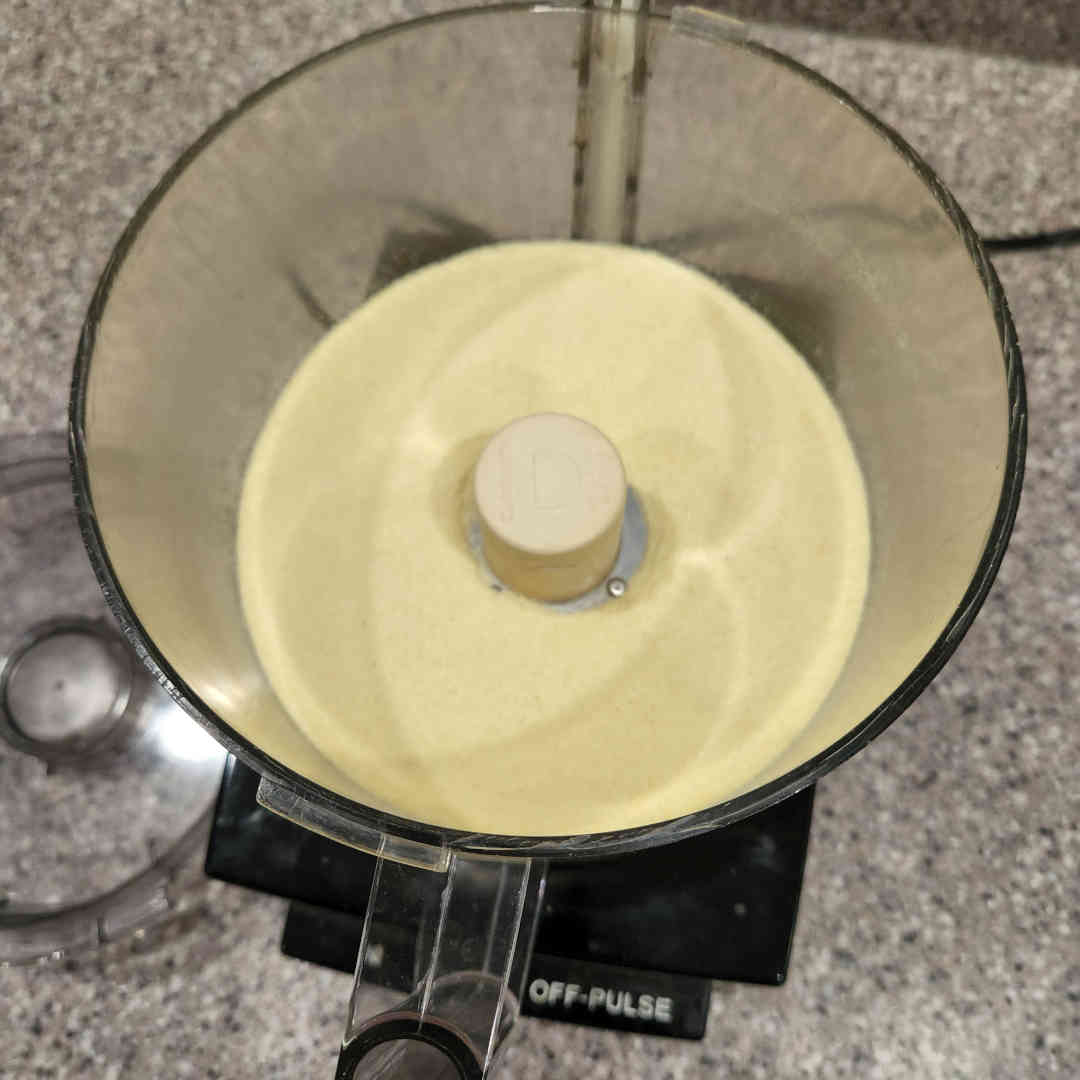
- Add the flour and salt in a food processor and give a quick pulse to mix the salt into the flour.
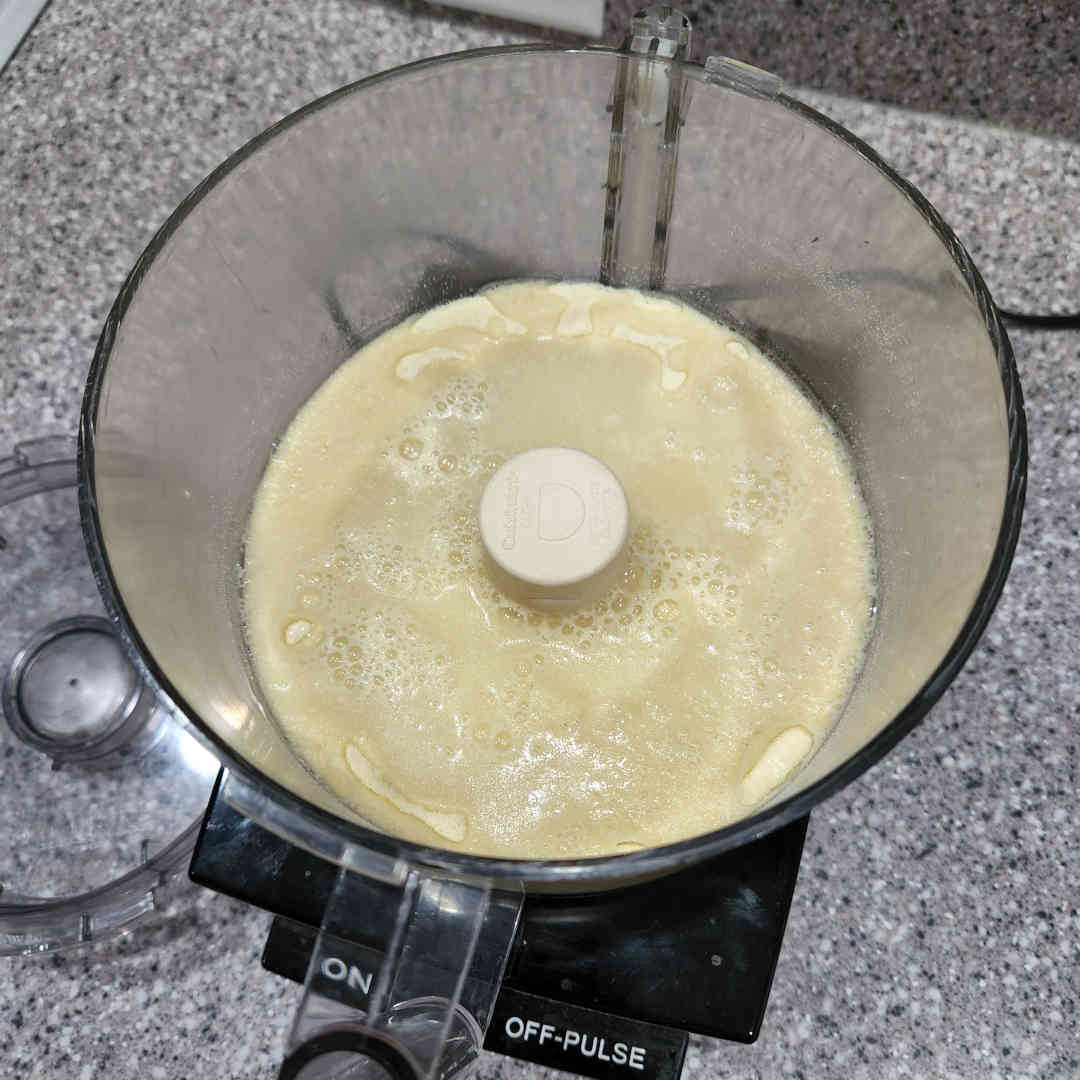
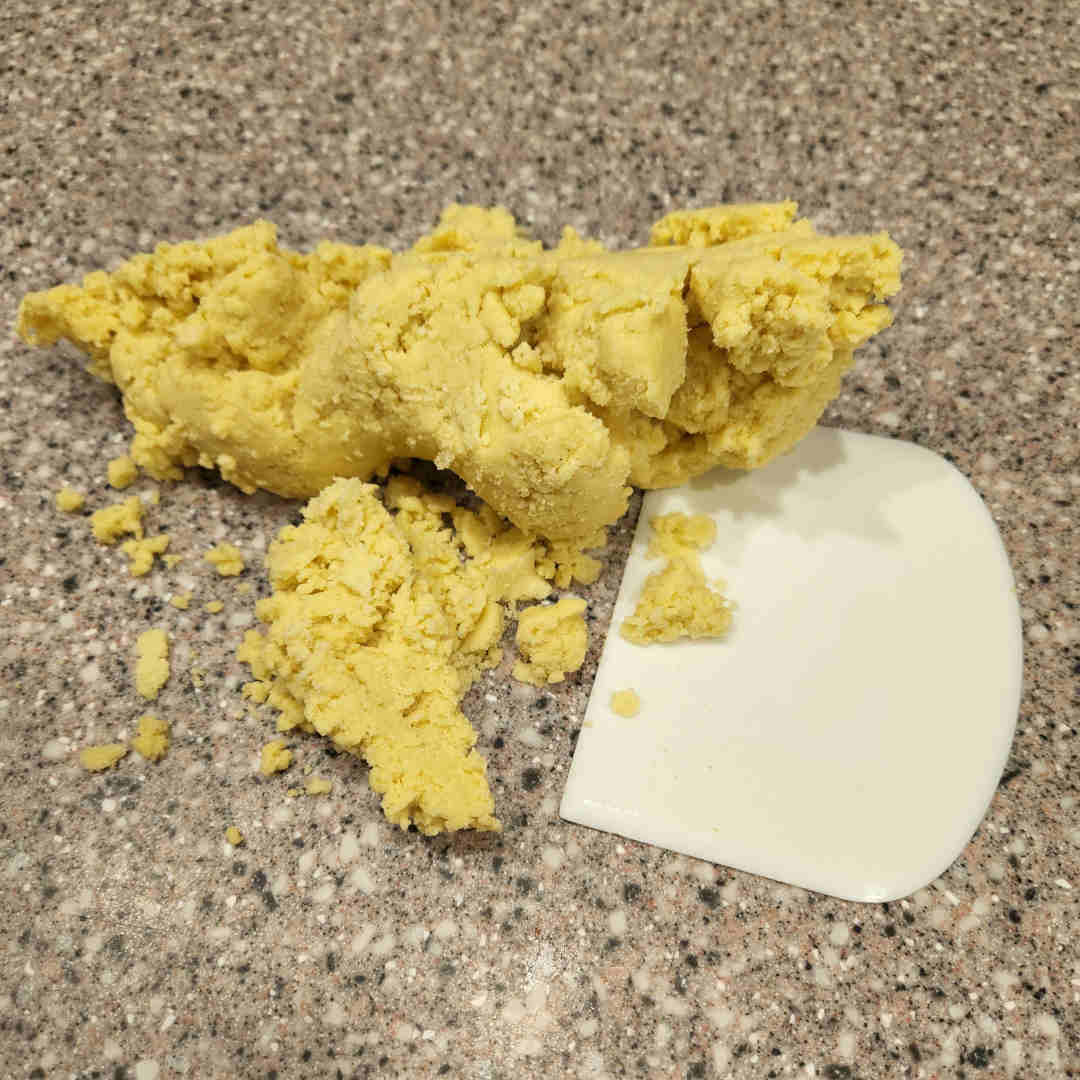
- Add the water and turn on the processor. Optimally a loose ball of dough with some straggling pellets gets formed. If pellets form, but they don't come together, drizzle water into the processor a teaspoon at a time. Each time, wait 15 seconds to see if a loose ball is formed. If a tight ball is formed and rides above the blades of the processor, the dough is probably on the wet side. This can be fixed during the kneading process.
Knead the Dough
- Knead the dough by repeatedly folding one portion of the dough over the rest of the dough ball, pressing the dough together, turning one quarter, and repeating.
- If you find that the dough cracks as you knead, more water is required. Add water very slowly by wetting your hands and letting the water from the surface of your hands work into the dough as you continue to knead.
- If you have kneaded the dough substantially and it continues to stick to your hands, the dough is too wet. Add flour very slowly by dusting the outside of the dough ball and working that flour into the dough as you continue to knead.
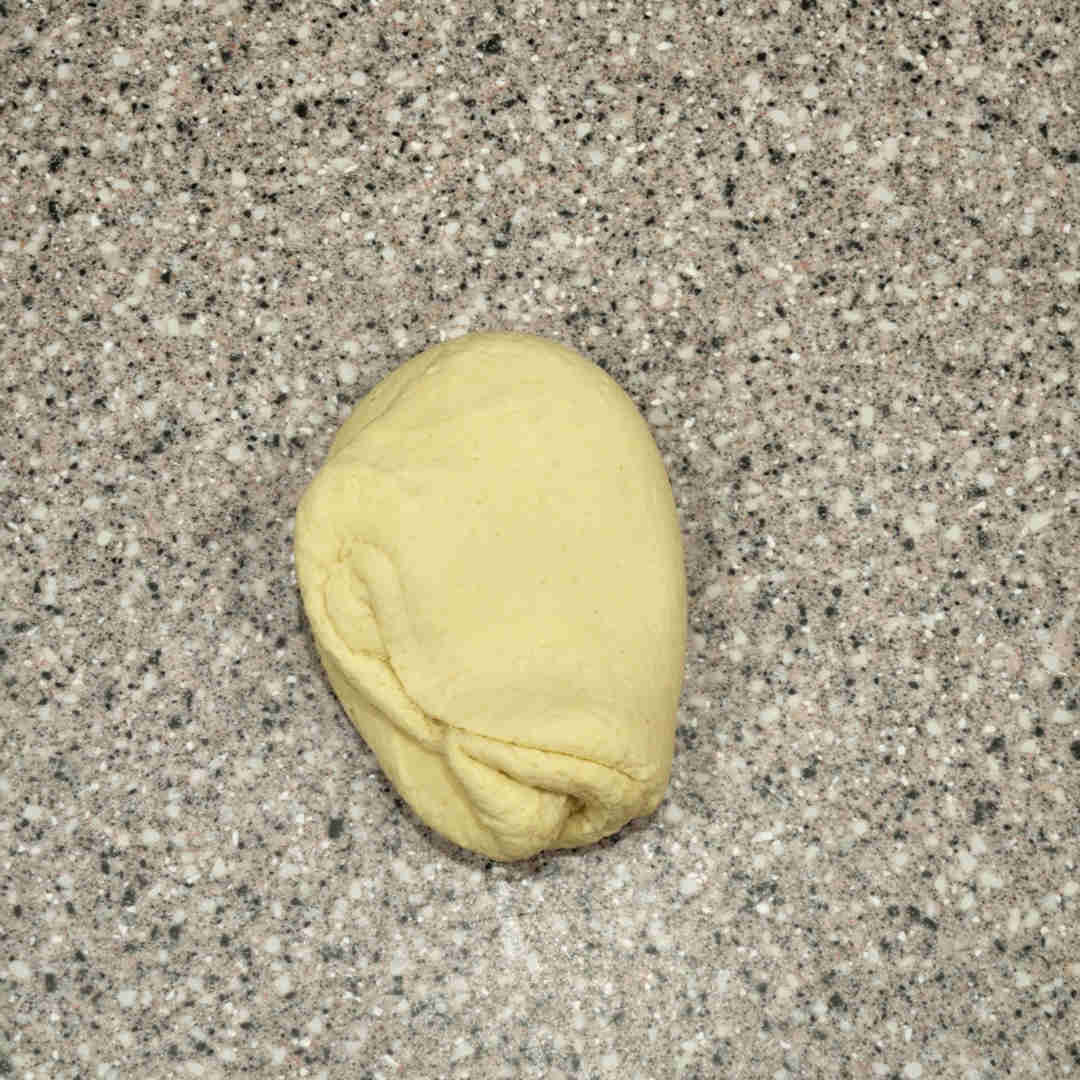
- Continue to knead the dough until is smooth. Semolina dough won't develop the same gluten matrix that you may be familiar with from working with egg and common flour based pasta dough. This is OK. You are looking for a malleable pasta dough, not an elastic one.
Rest the Dough
- When you are done kneading the dough, form it into a tight ball and wrap it in plastic wrap. Optimally, allow the dough to rest for two hours before rolling.
Shape the Dough
- Shaping the dough is beyond the scope of this recipe. Youtube is a good option for demonstrations of shaping many, many different pastas. In general, you will cut about 1/8 of the dough from the ball, roll that into a long, skinny log, cut that log into small pieces, and shape each piece.
- One piece of advice, from experience... My instincts when first shaping pasta was to start with pieces that are just too large. Usually smaller pieces are better. While your milage may vary, try to error on a bit too small than a bit too large.
Notes
- Different brands and varieties of salt have very different weight to volume ratios. Diamond Crystal brand kosher salt (one of the lightest options) yields about 3 grams per teaspoon.
- There are a lot of variables in the optimal flour to egg ratio, including the level of residual moisture content in the flour and the humidity of the room. There is no perfect measurement. A more precise, but still not guaranteed measurement is to weigh the three eggs and then add enough water to reach 285 grams of liquid weight. Use this with 300 grams of flour. You still may need to make adjustments as described in the recipe, but the odds are more in your favor that the dough will have a correct hydration without adjustment.


